


How to apply our UV gel strips? Complete tutorial
If you're looking to get a flawless manicure without a trip to the salon, Glaam Nails UV Gel Strips are the perfect solution. This step-by-step tutorial will guide you through applying your gel nail stickers like a pro. Follow these steps for easy application and impeccable results.
Necessary Materials
Before you begin, make sure you have all of the following items:
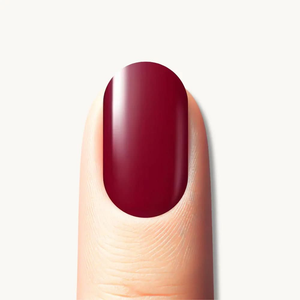
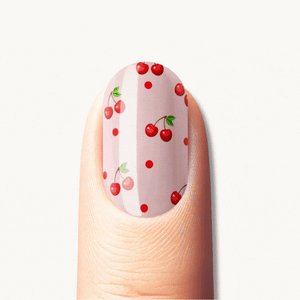
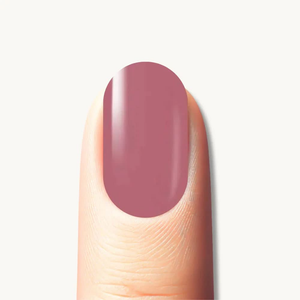
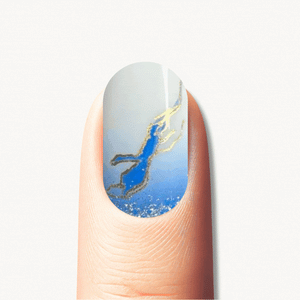
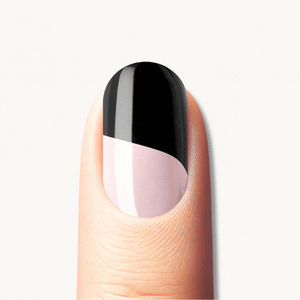
- Glaam Nails UV Gel Strips
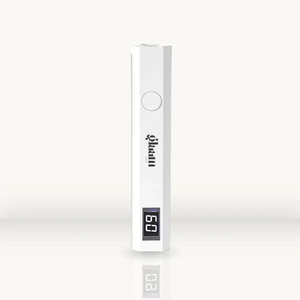
- UV LED lamp (included in some packs)
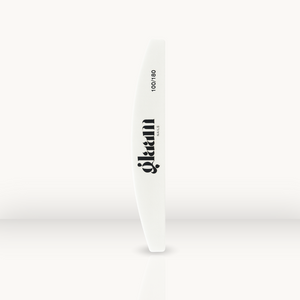
- Nail file
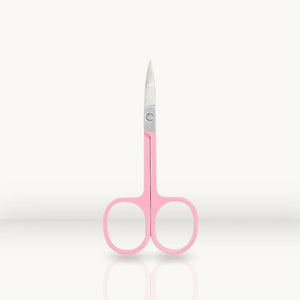
- Wooden stick or cuticle pusher
Step 1: Nail Preparation
-
Wash your hands : Make sure your hands and nails are clean and dry. Use a sanitizer to remove any dirt or oil.
-
Prepare nails : File your nails to the desired shape. Make sure the surface is smooth and even.
-
Push back cuticles : Use a wooden stick to gently push back cuticles. This will help ensure optimal adhesion of the UV gel strips.
- Clean nails : Remove any dust or residue with a disinfectant or alcohol-soaked cotton pad.

Step 2: Selection and Application of Bands
-
Choose the right size : Each Glaam Nails kit contains multiple sizes of strips. Layer each strip on the nail to find the size that fits best. Always go for a slightly smaller size to avoid any spillage.
-
Remove the protection : Carefully peel the UV gel strip from its backing. Avoid touching the adhesive surface to ensure good adhesion.
-
Apply the strip : Position the strip on the nail, centering it carefully. Press firmly from the center to the edges to avoid air bubbles and ensure even adhesion.
- Smooth the strip : Use a wooden stick to smooth the edges and remove any air bubbles or wrinkles. Make sure the edges are sealed well.

Step 3: Curing and Finishing
-
Cure under UV lamp : Place your fingers under the UV lamp for about 60 seconds. This will allow the UV gel strip to fully cure for long-lasting hold.
-
Check adhesion : Once the curing time has elapsed, check that the strips are well fixed and smoothed. If necessary, repeat the process to ensure a perfect finish.
- Moisturize your cuticles : Apply some cuticle oil to nourish and moisturize the skin around your nails. This will keep your hands healthy and add a touch of shine to your nails.

Additional Tips
-
Avoid water : For the first few hours after application, avoid soaking your hands in water to allow for better adhesion.
-
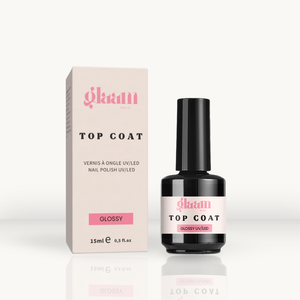
Maintain your nails : To extend the life of your manicure, apply a coat of clear top coat every few days.
-
Gentle Removal : To remove UV gel strips, use a wooden stick and cuticle oil or other oily oil to gently lift the strips without damaging your nails. To learn more, visit our dedicated page: " How to remove our UV gel strips? "
By following this tutorial, you will get a professional manicure at home with Glaam Nails UV gel strips. Thanks to their easy application and durability, you will be able to enjoy beautiful, flawless nails for weeks. For more tips and products, visit our UV gel nail sticker shop and join the Glaam Nails community!


